
No products
Jet ski accessories
-
Jet ski accessories
- Seadoo Accessories
- Jet ski anchors
- Audio
- Jet-ski covers
- Gasoline transport container
- Arm for jet to arm
- Foot rests
- Column & Platinum
- Commodo
- Circuit breaker
- Jet ski fenders
- Re-embarkation scale
- Distress flares
- Jet ski trigger
- Jet-ski handlebar
- Saddle covers
- Jet Ski Graphic Kit
- Peach
- Jet ski grips
- Floating pontoons
- Storage (bag, bin ...)
- Jet-ski safety
- License stickers
- Hydroturf / Jettrim mat
- Buoy to tow
- Destocking
-
Jet ski maintenance
- Jet-ski starting aid
- Engine additives
- Jet ski batteries
- NGK candles
- Fuels
- Jet ski compressor
- Jet-ski degreaser
- Hoses and accessories
- Electric jet ski
- Jet-ski hull maintenance
- Water evacuation
- Air filter
- Oil filter
- Oil filter
- Marine grease
- Wintering
- Engine oil
- Turbine oil
- Protective lubricant
- Jet ski cleaning
- Jet-ski tools
- Joint paste
- Hull / engine paint
- Cooling
- Revision (full pack)
- Rinsing (tips)
- Workshop services
- Fuel stabilizer
- Thermostats
- Jet pilot equipment
- Flyboard / Flyride
- Kawasaki jet ski
- Seadoo jet-ski
- Yamaha jet ski
- JetSurf
- Jet-ski & Trailer Rental
- Jet-ski occasions
-
Jet ski adaptable parts
- Jet ski cables
- Carburation / injection
- Shell
- Electric jet ski
-
Jet ski engine
- camshaft
- balancing shaft
- Connecting rod in kit
- needle cages, pin and circlips
- Crankcase
- distribution chain
- cylinder liner
- Compressor
- Pads
- cylinder head
- cylinders
- exhaust hose
- Exchanger / Intercooler
- jet ski oil filter
- 2-stroke seals
- 4-stroke seals
- SBT Complete Engine
- jet ski piston
- oil pump
- piston rings
- valves
- jet-ski engine mount
- Thermostat
- valves
- jet-ski crankshaft
- jet-ski engine bolts
- Jet ski tools
- Jet ski propulsion
- Trim VTS
- Original jet-ski parts
- Jet-ski racing parts
- Underwater Thruster
- Jet ski trailers
- Wakeboard / Paddle / Water Toys
vehiculier
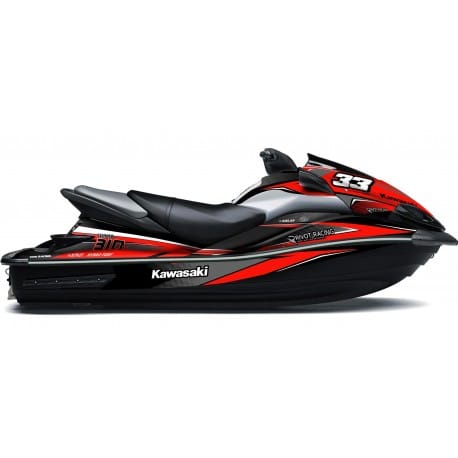 View larger
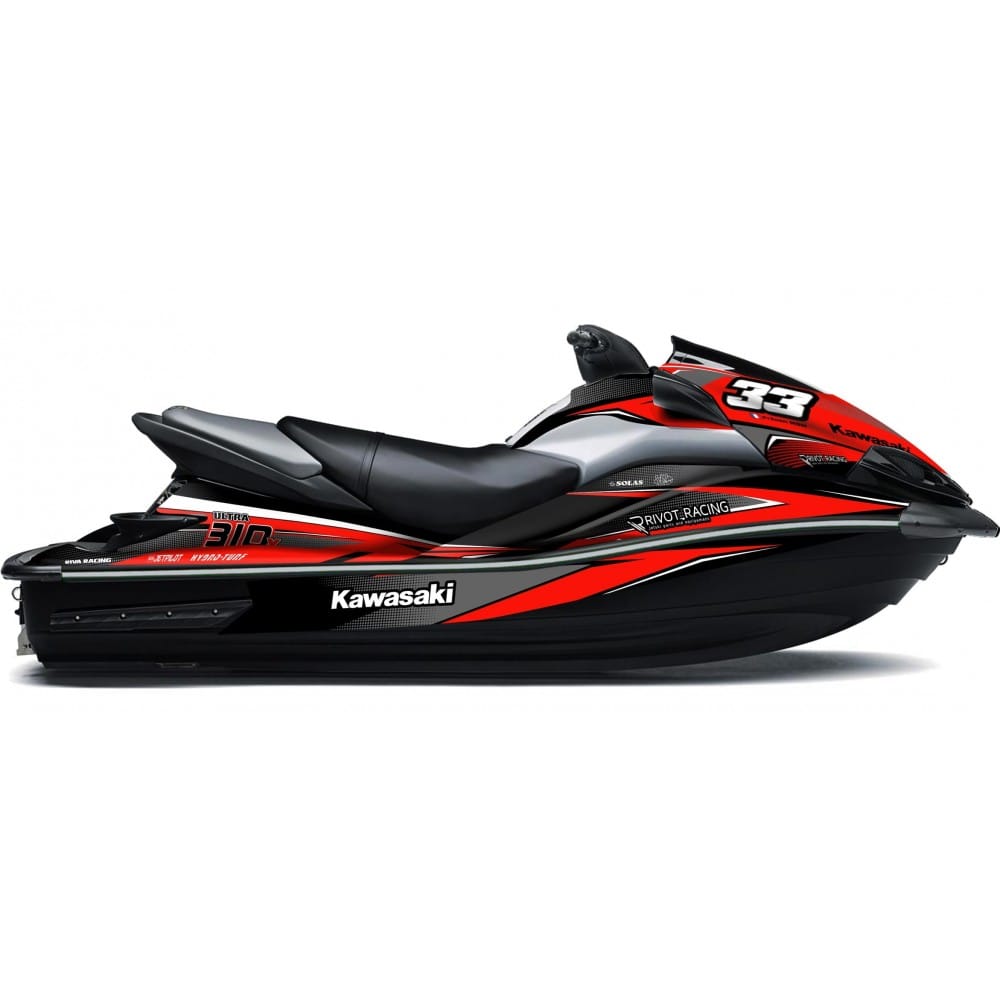
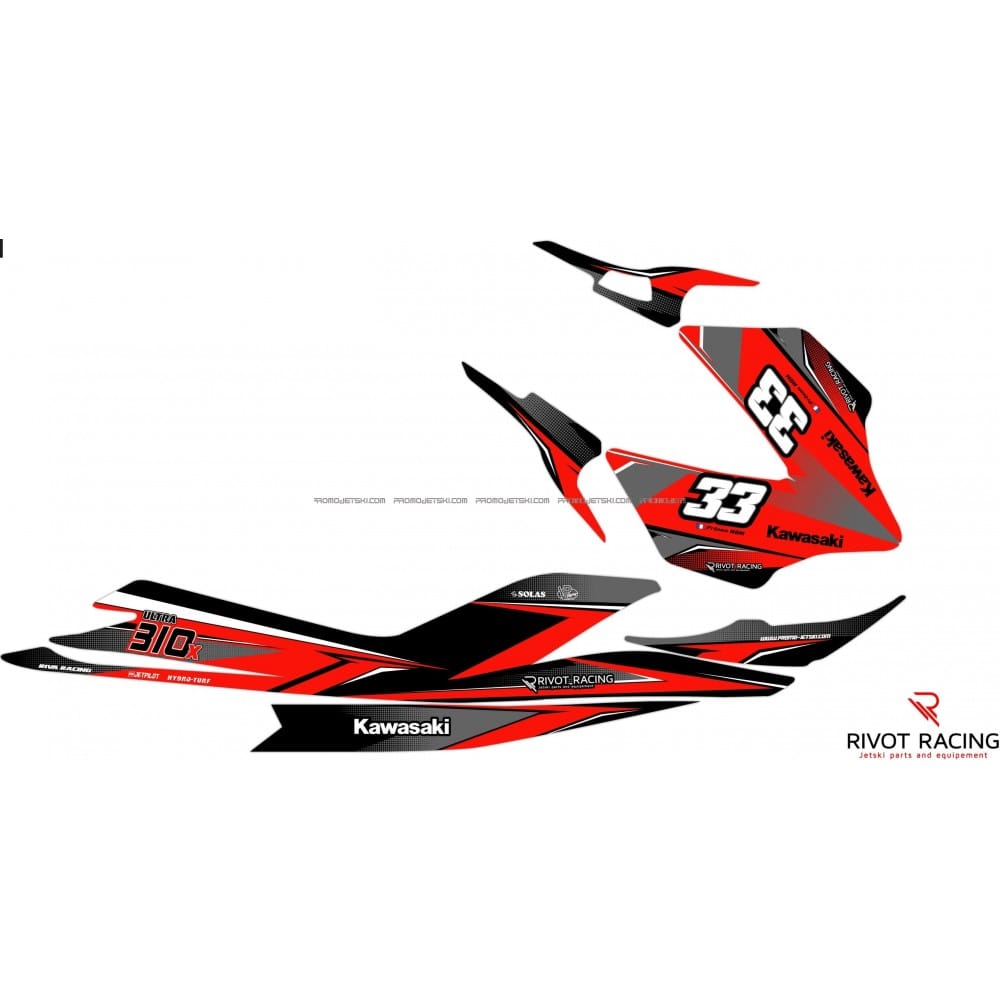
RACE Graphic Kit for Ultra 300/310 Red
KDRKU300/310RO
RIVOT Racing
Complete RACE Decoration Kit from RIVOT Racing for Jet Ski Kawasaki Ultr.. More details
Delivery within 2 to 10 days
More info
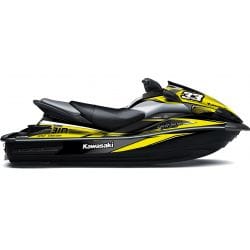
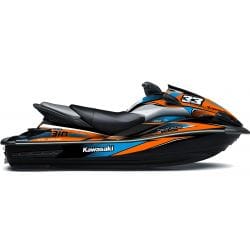
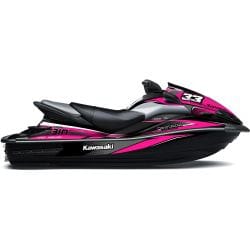
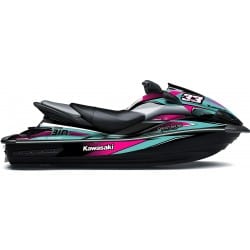
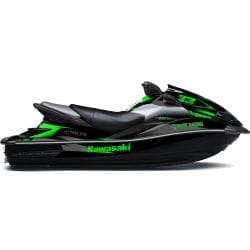
Complete RACE Decoration Kit from RIVOT Racing for Jet Ski Kawasaki Ultra 300 and 310 in Red color
ref. KDRKU300/310RO
PLEASE SAVE THE PERSONALIZATION FIELDS AT THE BOTTOM OF THE PAGE
The decorative kits are made with ultra-resistant vinyl, as well as reinforced microbead glue and special 100µ thick protection. High Definition Printing.
- Offers optimal protection for your case.
- Under the effect of heat, the vinyl takes shape and adapts to all the contours of your Jet-Ski for greater ease of installation.
- Retains the intensity of its colors for a long time even with strong UV exposure.
ENLARGE THE IMAGE in HD:
.jpg) | .jpg) |
Necessary tools :
- A cutter or scissor
- A can of degreaser
- A hair dryer or heat gun (be careful of high temperatures with the gun)
- A raclette
- A soft, clean cloth
Before starting to install your kit, make sure you are in favorable conditions: in a clean and dry place, temperature around 20°C and that you have enough time. Allow 1 to 2 hours to install a kit.
Step 1: Preparing the supports
Clean your fairings several times using a degreaser. It is imperative to remove all traces of glue and grease from plastics even if they are new (silicone residue) because the glue will not adhere properly. Be careful, products such as gasoline, white spirit or “WD40” type products can be effective on certain types of glue, but they are very greasy. Remember to degrease several times if you use it. Do not use window cleaners or acetone.
Step 2: Positioning and gluing
Position the sticker to identify its location. Always start a collage with the rough presentation of the piece to be glued. Little tip: the glue used is in the form of micro beads, this means that you can affix and remove your sticker several times without it sticking permanently. Once you have chosen the appropriate location, all you have to do is scrape the sticker starting from its center which will have the effect of piercing the micro beads and thus triggering the bonding process by polymerization. Once the sticker is in place, remove air bubbles by pressing very hard outwards with a clean cloth and/or a squeegee and/or felt.
Tip: If the piece on which you are working has significant relief, consider lightly heating the sticker with a hairdryer, because under the effect of heat the vinyl will take its shape and apply more easily.
Step 3: Finishes
Finally, once the entire kit is installed, lightly warm each part using a hair dryer and apply significant pressure to the entire kit, paying particular attention to sensitive areas, always using with a soft cloth or squeegee, from the inside out.
Step 4: Imperative!
Leave your decoration kit to rest for 2-3 days, no navigation!!! After the pressure exerted, the glue must have time to polymerize and adapt to its new support.
Tip: If you notice an air bubble, proceed as follows:
Prick the bubble squarely in its center using a pin, keep it pressed, heat
the bubble with the hairdryer then remove the pin while continuing to heat. The hot air
dilated will thus evacuate on its own and the bubble will disappear.

Accessories
-
Super Degreaser 6...
3,95€ -
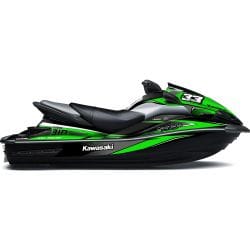
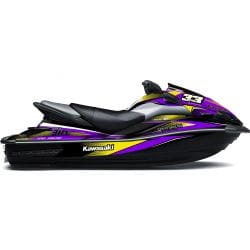
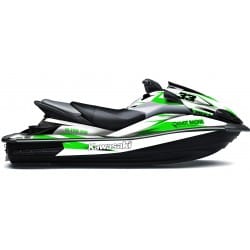
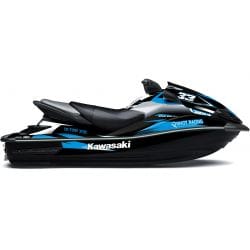
RACE Deco Kit for...
449,95€ -
RACE Ultra 300/31...
449,95€ -
RACE Graphic Kit ...
449,95€ -
RACE Ultra 300/31...
449,95€ -
RACE Decal Kit fo...
449,95€ -
RACE Ultra 300/31...
449,95€ -
SPORT Graphic Kit...
449,95€ -
SPORT Graphic Kit...
449,95€ -
Sport Decal Kit f...
449,95€
Customers who bought this product also bought:
-

Super...
Cleaner and Super Degreaser 600ml Reference:...
3,95€
-
Riva 12F /...
RIVA Air Filter Kit for Kawasaki 15F / 12F /...
199,95€
-
Flexible...
Soft primer pump ref. 53-9915 / 7001
37,95€
-
Oil filter...
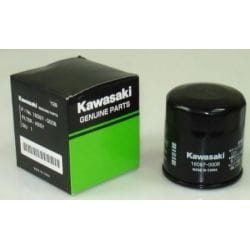
Original or compatible oil filter for Kawasaki...
8,95€
-
139,95€

Other products in the same category
-
ODI Cross...
39,95€
-
Hydroturf...
Hydroturf Carpet for Kawasaki X2 650 Jet Ski...
149,95€
-
Adjustable...
Red aluminum plate kit for ab-system adjustable...
220,95€
-
Original...
Original Yamaha Storage and Transport Covers...
363,95€
-
Graphic Kit...
Complete Decoration Kit RACE from RIVOT Racing...
349,95€
-
Steering...
Universal Rick Roy blue steering box for 28.6mm...
390,95€
-
Seat cover...
Hydroturf Seat Cover for Seadoo GTX Jet Skis...
279,95€
-
20 Litre...
TUFF JUG white fuel container with a 20-liter...
62,95€
-
HO Cruiser,...
Genuine Yamaha Storage and Transport Covers for...
379,95€
-
Original...
Yamaha Transport and Storage Covers for FZS...
335,95€




Product customization
* required fields